Here’s the fastest way to capture your screen and automatically save it to a folder as a image file in Windows 7. You no longer have to open Paint or Photoshop to paste your screenshot.
Steps to Automatically Save screenshots in Windows 7
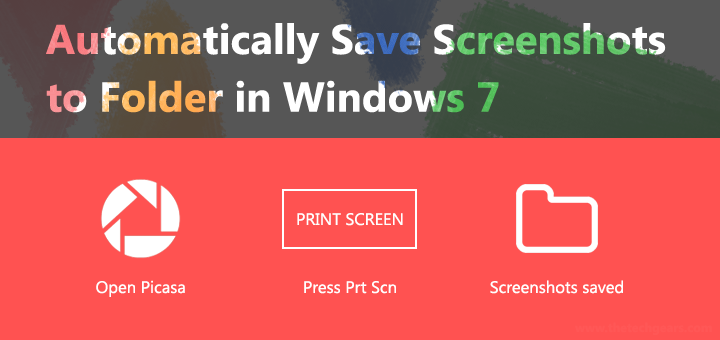
1. Open Picasa and minimize it. [ Download Picasa here ]
2. Now, hit “Print Screen” key to capture the screen
3. Screenshots will automatically get saved in the “Pictures” folder
In case if you are searching for the key, the “Print Screen key” on your keyboard will be labelled as “Prt Scr” or “Prt Scn“.
Note: Don’t press Ctrl+Shift+Y, that’s for the Teddy Bear
What about Windows 8/8.1 and Windows 10
In Windows 8 and Windows 10, you can straight away press Windows logo Key + PrtScn Key to save the screenshots, it’s that easy. So, that’s the reason why we are using Picasa to do the job in Windows 7, and this is easy too.
BMP or JPG?
By default, all the screen captured images in Windows are in bitmap (.bmp) format. This format gives you the highest quality, no digital compression is applied. The file size will be a bit huge.
On the other hand, images with JPG (.jpg or .jpeg) format are images that are digitally compressed to reduce file size for the web.
How to convert BMP to JPG
You can staright away click “Ctrl + Alt + S” in Picasa to save and export images as JPG.
Its not always necessary to convert BMP to JPG formats. If you are taking screenshots for reference, then you don’t have to convert or reduce file size. If you need to edit and publish to the web, then you can opt for JPG.

![15+ Best and Must-Have Software for your New PC [2020] 15-Best-and-Must-Have-Software-for-your-New-PC-2020-Edtion](https://thetechgears.com/wp-content/uploads/2019/12/15-Best-and-Must-Have-Software-for-your-New-PC-2020-Edtion-100x70.jpg)


