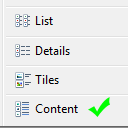
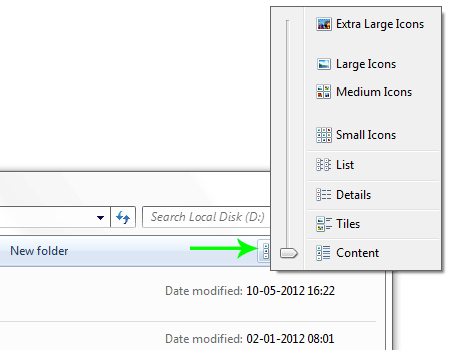
 Windows Explorer allows you to switch between different views like Contents, Tiles, Details, List, Small Icons, Medium Icons, Large Icons and Extra large Icons. Each one of us like and use a specific view. But the problem is, once we set a specific view in Windows Explorer and open a New Window the customization is gone, the view gets switched back to Windows Default.
Steps to set a specific view as default in Windows 7
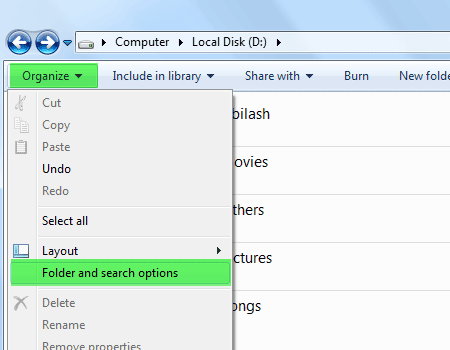
Here are the steps to set specific view as default for all folders of the same type
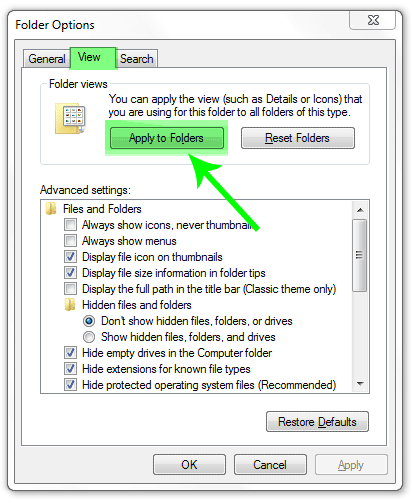
Note: Since these settings only apply for folders of a specific type you may need to follow the same process for contents in folders that contain media files and other files.
Share this, and Follow TechFrost on Twitter and Facebook
You may also like
1. Get Windows 8 feel in Windows 7 with metro style home screen
2. Prevent Computer Eyestrain with this Fantastic Windows App
3. How to Auto-Shutdown or Log-off PC at or within Specific Time
4. How to completely disable automatic windows updates
5. Smart Windows 7 Search Tricks for Faster and Efficient search ( Keywords )


